Published December 22, 2021 01:49AM
Want To Run Stronger? Barre Could Be The Supplement You Need.
Barre, the strength training regimen derived from ballet, could be your key to improved stability and injury prevention on the trail.
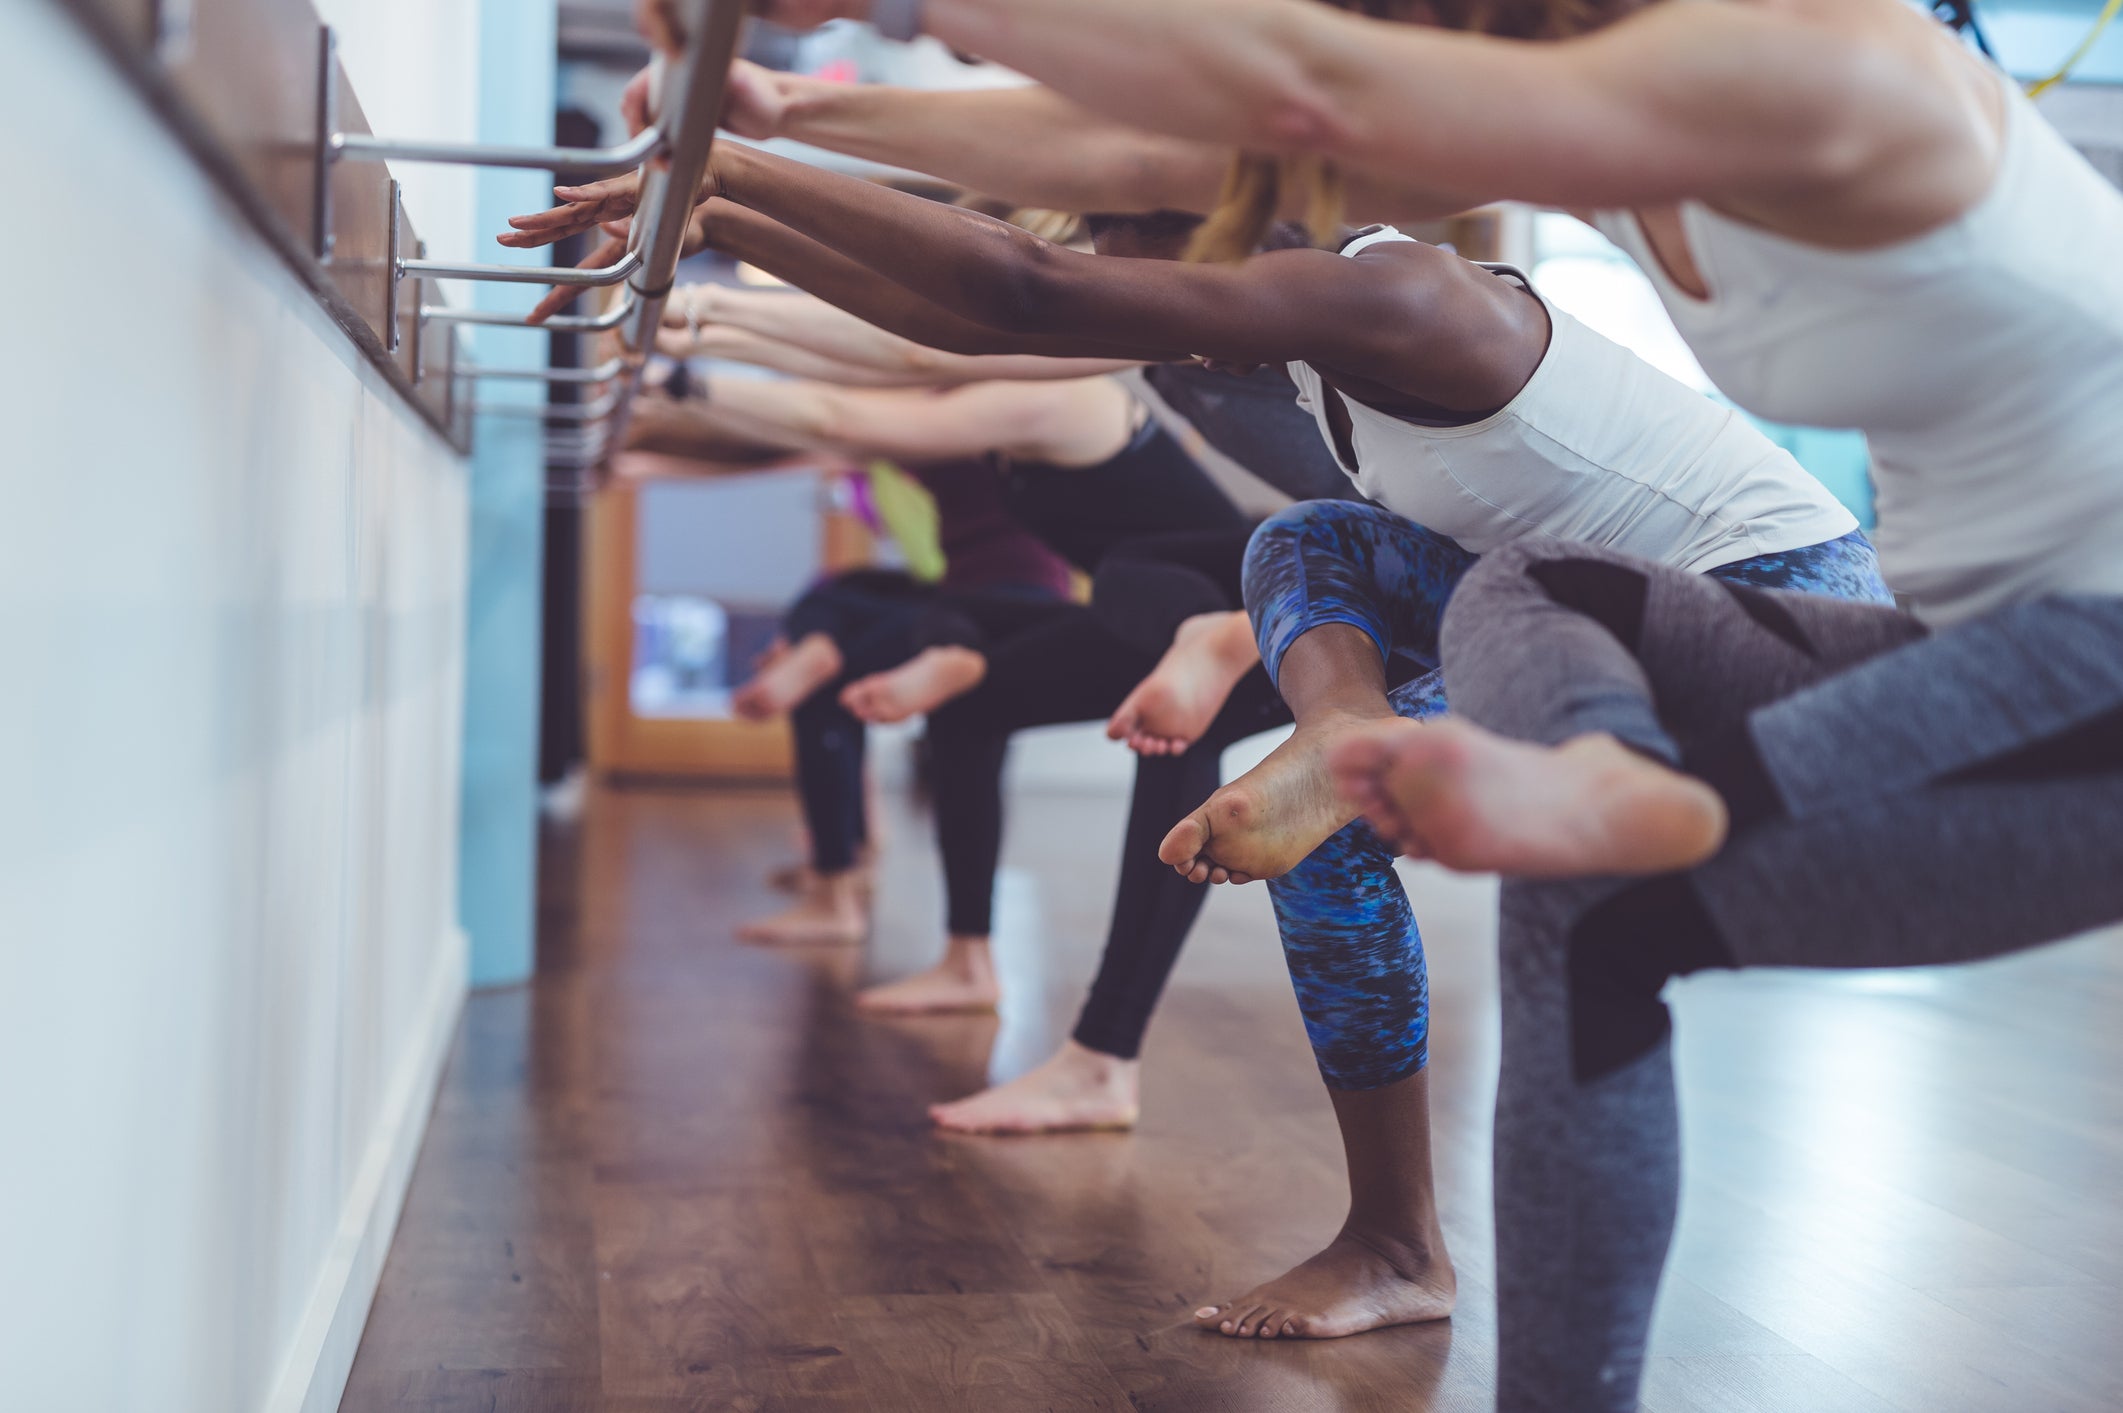
A multiethnic group of young women do a barre workout together at a modern gym. They are facing the wall, gripping the bar with both hands, and doing repetitions of squats, with one foot crossed over the opposite thigh. (Photo: Getty Images)
I’ll admit that I didn’t enter my first barre class with the best attitude. It was right around the time the ballet- and pilates-inspired workout was gaining popularity and shiny new storefronts opened up on seemingly every other corner of my neighborhood. But I’d heard the workout was challenging, and I was intrigued by the idea of prima ballerina-level discipline and muscle-quaking isometric holds.
As I first stepped foot into the spa-like studio, my skepticism hit its peak. Something about the whole delivery system—the dainty little socks, teeny-tiny pastel hand weights, carpeted floors—just didn’t feel right. I was coming from a place of muddy trail runs, clanging barbells, and hand blisters so thick they often ripped and bled during HIIT workouts. If I didn’t leave a workout a little dirty or bruised, it didn’t seem worth my time. I finished the class and never went back.
But while I’ve accepted that studio workouts aren’t my thing, but I have since come to appreciate barre itself. I felt that first workout in my core and hard-to-target sections of my glutes and inner thighs. Maybe all those pliés, pulses, and leg lifts engaged muscles that heavy squats and dumbbell thrusters neglected, I thought afterward.
They did, says Katelyn Gleason, certified barre instructor and owner of Rise, a fitness studio in Glen Ellyn, Illinois.
“During a barre workout, you are constantly focusing on your core strength and keeping your body in its proper spinal alignment,” she explains. “Barre strengthens your abdominal wall, thighs, inner thighs, outer quadriceps, glutes, and calves.” Pulses, holds, and micro-movements engage the smaller stabilizing muscles that are crucial to injury prevention, especially for hikers who rely on a strong core and lower body to protect their hips, knees, and ankles.
ADVERTISEMENT
RELATED: How To Train Specifically For Mountain Running
Here’s the good news: You don’t need a membership to a mirrored studio or special socks to benefit from barre. The following 15-minute strength workout, created by Gleason specifically for backcountry athletes, requires only an exercise mat and a chair or countertop. Gleason recommends incorporating it into your current training program two or three times a week.
Plié Pulse Tabata
1. Stand tall with your feet together, shoulders back, and core engaged. For balance, rest one hand on a countertop or the back of a chair.
2. Keeping your heels together, spread your toes apart and create a narrow V-shape with your feet.
3. Lift your heels so that you’re balancing on the balls of your feet and bend your knees, lowering your hips about 6 inches. (This is a plié.) Push your knees out to the sides so that they’re tracking over your toes.
4. From this position, pulse up and down at a one-second tempo. Keep this pulsing movement small, about an inch or two.
5. Pulse for 20 seconds, then hold the bottom of the plié for 10 seconds.
6. Continue this pulse and hold pattern for a total of eight rounds before moving on.
RELATED: Combo Strength Workouts For Runners
ADVERTISEMENT
Wide Plié Series
1. Stand with your feet wider than hip-width apart and point your toes out about 45 degrees. Keep your shoulders back and core engaged. For balance, rest your hand on a countertop or the back of a chair.
2. Bend your knees, lowering your hips about 6 inches. Push your knees out so they’re aligned with your toes.
3. From this wide plié position, perform the following circuit, using a one-second tempo:
- 10 up-and-down pulses.
- 10 heel raises: Lift and lower your heels, keeping the balls of your feet planted.
- 10 knee push-backs: Pulse your knees back and away from each other. Pretend you are touching a wall behind you with the sides of your knees. It’s a small, subtle movement.
4. Repeat for a total of four rounds.
Tabletop Glute Series
1. Assume a tabletop position with your palms and knees on the floor. Engage your core, keeping your wrists directly under your shoulders and knees under your hips.
2. From this position, perform the following circuit, starting with your right leg and using a one-second tempo:
- 10 donkey kicks: Keeping your knee bent and foot flexed, raise your knee to hip height, then lower to tabletop position.
- 10 donkey kick pulses: At the top of a donkey kick (knee bent, foot flexed, leg at hip height), pulse the leg up and down.
- 10 leg extensions: At the top of a donkey kick, straighten your leg, then bend it back to starting position.
- 20 leg circles: Straighten your leg and lift it to hip height behind you. Moving in a clockwise direction, trace 10 circles (about the size of a silver dollar) with your toes, then reverse the movement, tracing 10 more circles.
3. Do three sets on each leg, switching legs after completing each circuit. No rest between rounds.
ADVERTISEMENT
RELATED: Here’s Why Your Glutes Are Weak
Plank Series
1. Get into a high plank position as if you were preparing to do push ups. Engage your core, keep your back flat, and align your elbows and wrists directly under your shoulders.
2. Bending one elbow at a time, lower yourself into a forearm plank. Then, one arm at a time, lift up into a high plank.
3. Repeat four more times. Hold the last forearm plank and do the following: bend your right knee and gently tap it on the floor. Repeat with your left knee. Alternating legs, repeat for a total of five taps per knee. Then, return to a high plank position.
4. Repeat for a total of three rounds.