Published August 4, 2021 08:11AM
Bounce Back Faster After An Ankle Sprain
Rehabbing an ankle sprain is critical for reducing the risk of future ankle sprains and the development of chronic ankle instability. Here's a 5-stage rehab program with 10 exercises.

Woman runner got sports injury running on forest trail
Overuse injuries are common among runners due to the repetitive nature of the running stride. On occasion, however, acute injuries can also sideline runners. One of the most common acute injuries for runners is a lateral ankle sprain, also referred to as an inversion sprain. Here’s how to heal your sprained ankle and get back to running trails.
RELATED: Ankle Taping For Trail Runners
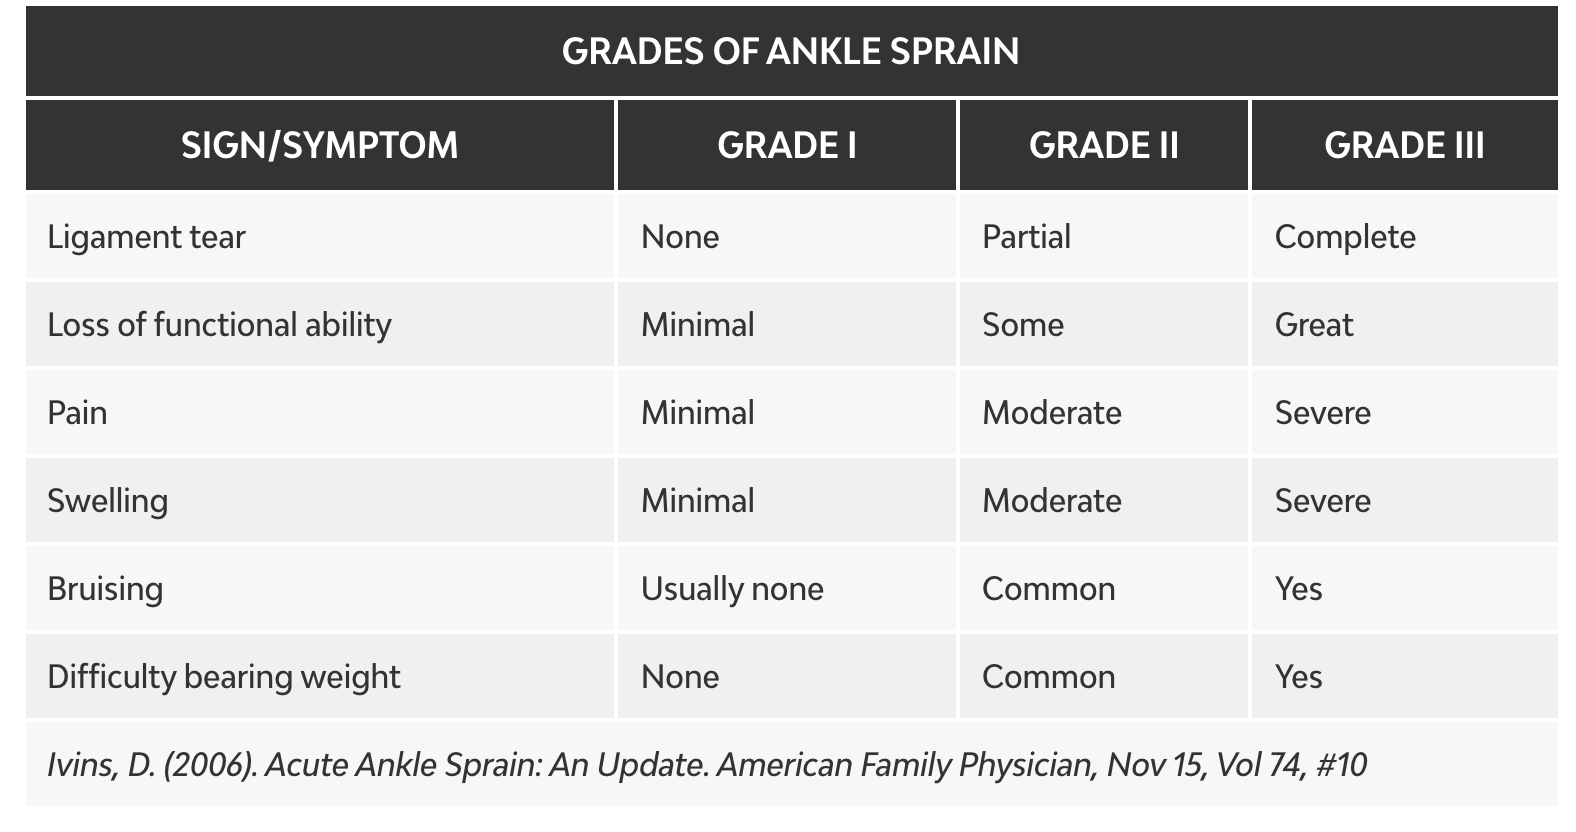
Grade III sprains are most severe and require examination from a professional to rule out the need for surgical repair or the presence of a fracture. Grade II and III sprains will benefit from physical/physio therapy to aid recovery. Non-steroidal anti-inflammatories may be beneficial for pain relief and to speed up recovery. Grade I sprains normally don’t require any change in activity, but you should be cautious to ensure you avoid a subsequent ankle sprain, which could be more severe.Rehabbing an ankle sprain is important to reduce the risk of future ankle sprains and the development of chronic ankle instability. A reduction in optimal ankle joint range of motion and poor proprioception (sense of balance) can result, leading to a host of other overuse injuries in different joints and bones in the body. For example, ankle mobility issues can lead to inefficiencies in the running gait and contribute to the development of shin splints or knee issues.
ADVERTISEMENT
RELATED: Stronger Ankles For Better Trail Running
The Functional Rehab Protocol
Following an ankle sprain, initial therapy should focus on controlling pain and swelling. Use the acronym P.R.I.C.E: Protection, Rest, Ice, Compression and Elevation. You can Protect the joint from further injury by wearing an ankle brace or having the ankle taped by a professional. Rest the ankle from regular running until you can bear weight pain free. Ice the outside of the ankle on and off throughout the day, Compress it with a wrap or sock, and when possible, lie down and Elevate your ankle so that it’s above your heart.
Level 1: Non-Weight Bearing Range of Motion
Within 24-48 hours post-injury, focus on non-weight bearing range of motion. Let pain be your guide and do not force a range you do not yet have.
ADVERTISEMENT
Exercise 1. Toe Circles

Draw circles in the air with your big toe. Draw them as big as you can, and try to do this throughout the day.
Exercise 2. Inversion and Eversion
Move your ankle to twist your foot and show the bottom toward your midline, then toward the outside. This motion will feel stiff but make sure to avoid excessive pain.
ADVERTISEMENT
Note: gentle self massage with a foam roller, stick or lacrosse ball on your arch and calf may help with muscle stiffness during this process.
Level 2: Weight Bearing Range of Motion
Within 48–72 hours post-injury, gently stretch your calves, arch and lateral lower leg muscles.
Exercise 1. Upper Calf and Lower Calf Stretch on Step or Slant Board
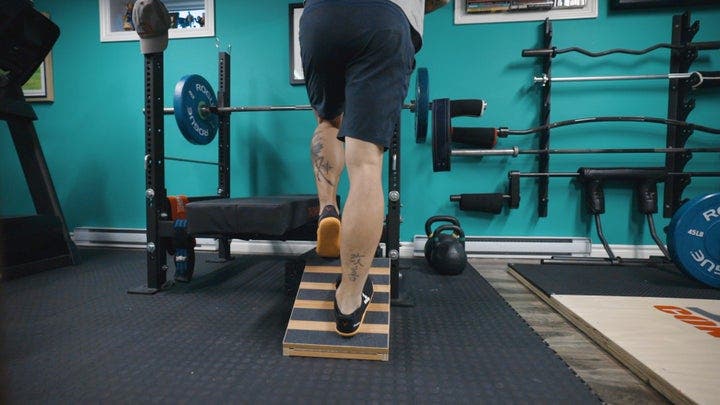
Stand on the edge of a step and let your heel drop below the surface. Hold for 30–60 seconds. Perform 3x/day for 3–4 weeks.
Exercise 2. Foot Elevated Dorsiflexion
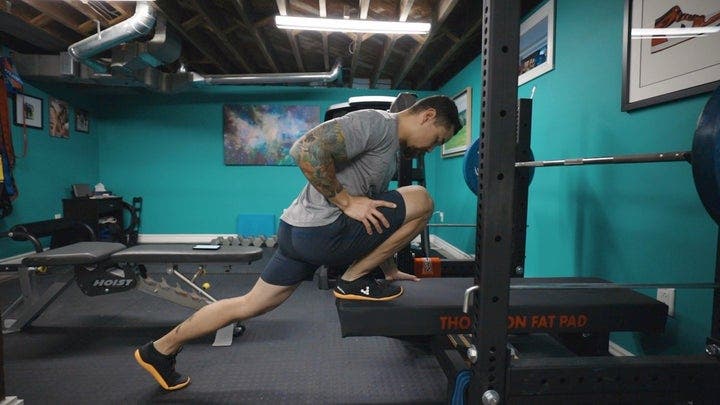
Place your foot on a kitchen chair or exercise bench and bring your hips toward your ankle. Bring your knee past your toes and use the weight of your body to push your knee beyond your toes at a point where your heel just wants to lift off the ground. Gently bounce back and forth to promote a loosening of your ankle joint. When bouncing, ensure your knee tracks over your 3rd, 4th and 5th toes.
ADVERTISEMENT
Exercise 3. Inversion Over Pressure
Place the outside of your foot on the floor and gently push the outside of your ankle toward the ground. This will stretch the ligaments involved in the sprain so be cautious and don’t push too hard. Just focus on encouraging a small amount of mobility in this direction.
Level 3: Barefoot Proprioception
Exercise 1. Airplane to Karate Kid

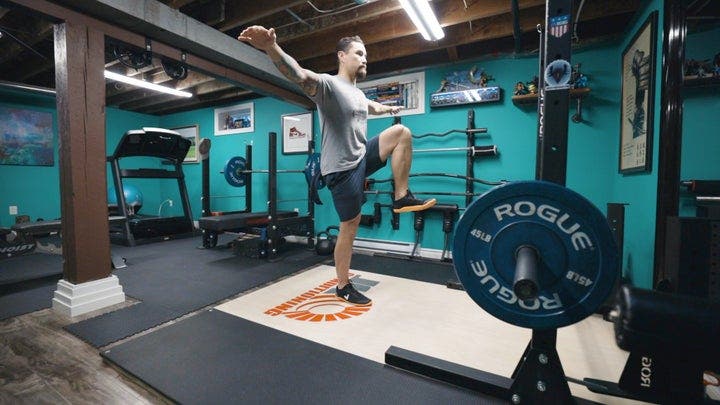
Photo: Jon-Erik Kawamoto
First, stand barefoot on the affected side and slightly bend your knee. Bow forward and reach your opposite leg back. Hold your arms straight out to the side and continue bowing until your torso is parallel to the floor. I call this position the airplane – some call it a single-leg deadlift. Next, return to standing and bring your knee toward your torso. If you’ve seen the Karate Kid, you’ll know this as the Crane Kick. Keep your arms out at your sides and stand tall. Pull your toes up toward your shin. Perform up to 12–15 reps in a row. Do every other day for 3–4 weeks.
ADVERTISEMENT
RELATED: 5 Exercises For Stronger Feet
Note: Progress to standing on an unstable surface like a cushion or balance board.
Exercise 2. Single Leg Balance Eyes Closed
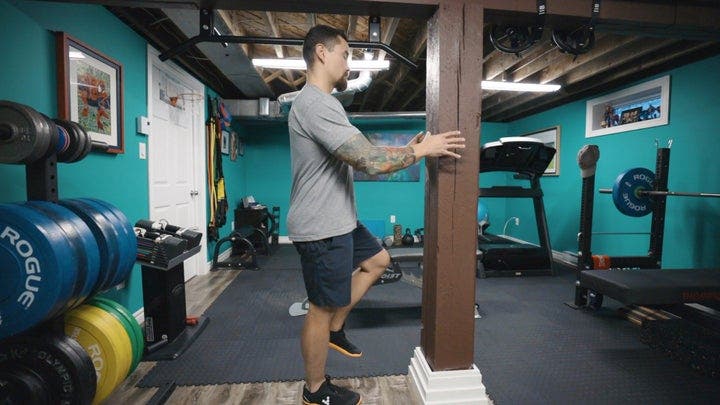
Photo: Jon-Erik Kawamoto
Stand on the affected side near a wall. Place one finger on the wall and close your eyes. Try to maintain your balance and try to remove your finger off the wall. Stand as long as you can. Do 3–5 sets daily for 3–4 weeks.
ADVERTISEMENT
Level 4: Strength Training
Return to regular running-focused strength workouts that include squats, bridges and deadlifts. Be cautious when performing lunges as the mobility required may challenge the affected ankle.
Exercise 1. Band Resisted Eversion
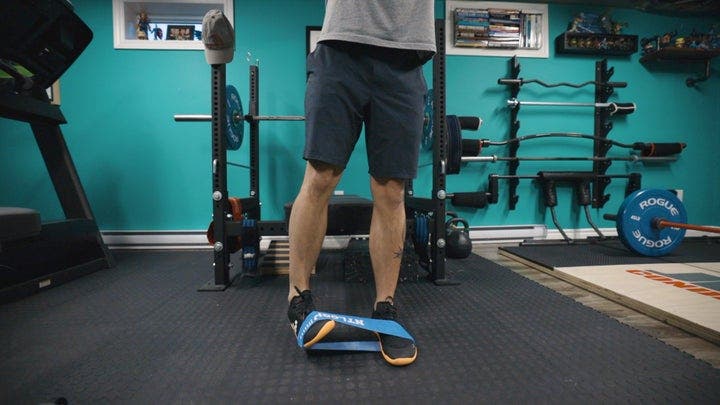
Photo: Jon-Erik Kawamoto
Place a band around the outside of your foot and anchor the other end. Challenge your foot to turn out against the band. Do 3–4 sets of 20–30 reps daily for 3–4 weeks.
ADVERTISEMENT
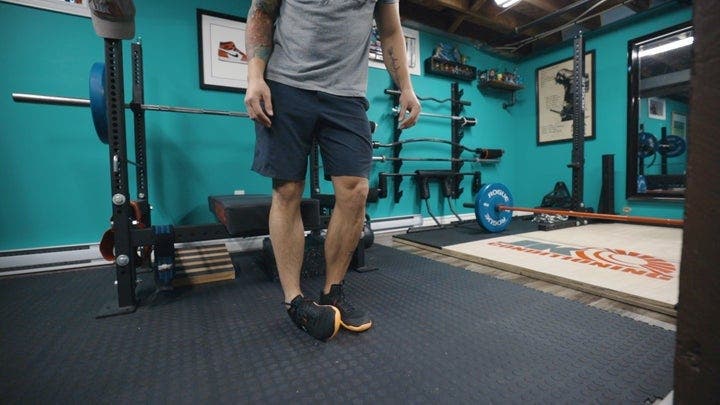
Exercise 2. Band Resisted Toe Circle

Photo: Jon-Erik Kawamoto
Place a band around the outside of your foot and anchor the other end. Draw circles with your big toe with the resistance challenging the outward motion of the ankle. Do 3–4 sets of 20–30 reps daily for 3–4 weeks.
Exercise 3. Single Calf Raise
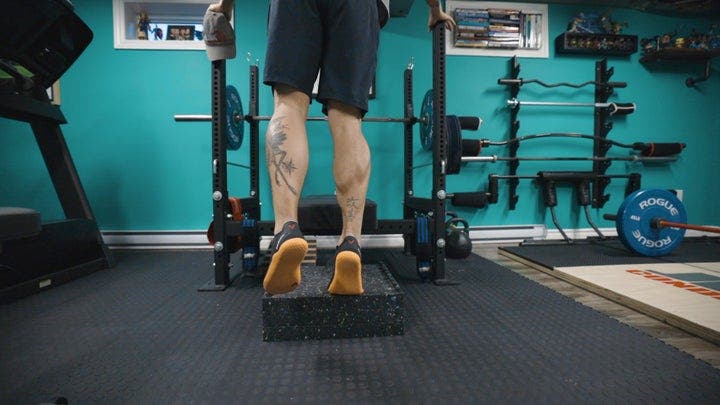
Photo: Jon-Erik Kawamoto
Stand on your affected side on a step and go up onto the balls of your feet. Lower your heel below the surface of the step. Perform 3–4 sets of 8–12 reps every other day for 3–4 weeks.
ADVERTISEMENT
Level 5: Return to Running
Two cautions should be taken when returning to running: 1) re-injury; and 2) compensation injury elsewhere. Protect your ankle from a future sprain by wearing an active ankle brace or have it taped. If you’re still in pain, avoid running much as you’ll change your stride, which could lead to a compensation injury elsewhere in your body. Reduce your volume and running intensity until you’re pain free. Perhaps add in cross training on an elliptical or bike, or consider pool running as replacement cardio until you’re fully healed. Lastly, run on predictable ground at first such as on the treadmill, around a track, or on a flat road or path. Avoid unpredictable ground such as trails until you’ve fully developed enough strength and proprioception to handle the unstable terrain.
Returning to running too early may result in re-injury and the development of chronic ankle instability. Starting this 5 stage functional rehab protocol as soon as possible should result in better outcomes and a faster return to the sport you love.
ADVERTISEMENT